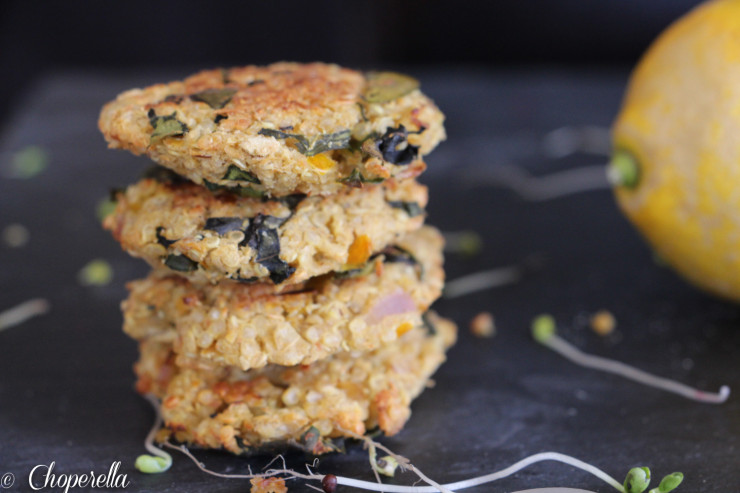
Quinoa & Chickpea “Falafel’s”
After experimenting and my mind running constantly with idea’s I’ve learned that making your favourite foods at home is so much more satisfying than buying for these five reasons:
1. You get the satisfaction of being creative
2. You get to decide the spice level (I’m a whimp!)
3. You know what you’re putting in it
4. Homemade food is just the best
5. You’re saving money cooking at home
So when I was craving falafels I made a wise decision and made my own version of “falafel’s”. I’ve never made them at home and I did not want anything fried (which is what I would get if I ordered a falafel sandwich!). I decided to bake them instead. I always look for ways to make recipes a little bit healthier so I opted to add quinoa for some added protein, some extra veggies for vitamins and iron.
These “Falafel’s” are loaded with all good things. They’re also gluten free and dairy free! Woo hoo!
I had made a Beet Hummus earlier and what a perfect pairing this was. I made a sandwich out of the two and added some broccoli sprouts. It was my meatless monday meal of the day. So satisfied after I ate this. It was delicious, filling and completely guilt free!
They last for a few days in the fridge, if theres any left! You can also freeze them with wax paper in-between each layer.
Enjoy!
1 1/2 cup cooked Quinoa
1/2 Yellow Bell Pepper, Diced small
1/2 Small Red onion, Diced small
1 Stalk Celery, Diced small
1/2 Bunch Swiss Chard, Stems Removed, Leaves chopped
Juice of 1/2 Lemon
1 Tsp Salt
1 Tsp Pepper
1 1/2 Tsp Coriander Powder
1 1/2 Tsp Cumin Powder
1 Tsp Chili Powder
1 Tbsp Garbanzo Bean Flour
1 Tbsp Water
2 Tbsp Oil
2. In a sauté pan, on medium heat, add 1 tbsp cooking oil. Sauté the onions, pepper and celery until translucent. About 5 minutes. Add the swiss chard and cook until softened, about 2 minutes.
3. In a large bowl, add the cooked quinoa, sautéed vegetables, mashed chickpeas, all spices, flour and water. Mix until fully combined.
4. Pre-heat the oven to 450 and line and grease two baking trays will foil. While the oven is pre-heating, time to make the patties!
5. Take one heaping tablespoon of the mixture and squeeze it into a tight ball (you may want to lightly wet your hands to avoid it sticking too much). Then take your ball and flatten it between your palms tightly. Then gently place it on your baking sheet. Continue this process with the rest of the mixture.
6. Using a pastry brush or your fingers, gently brush some olive oil on the top of each patty. Bake for 10 minutes and flip over, gently with a spatula. Cook for another 10 minutes or until nicely browned.
7. Let cool and enjoy! Serve them with some of my beet hummus and call it a day! (recipe link above)


